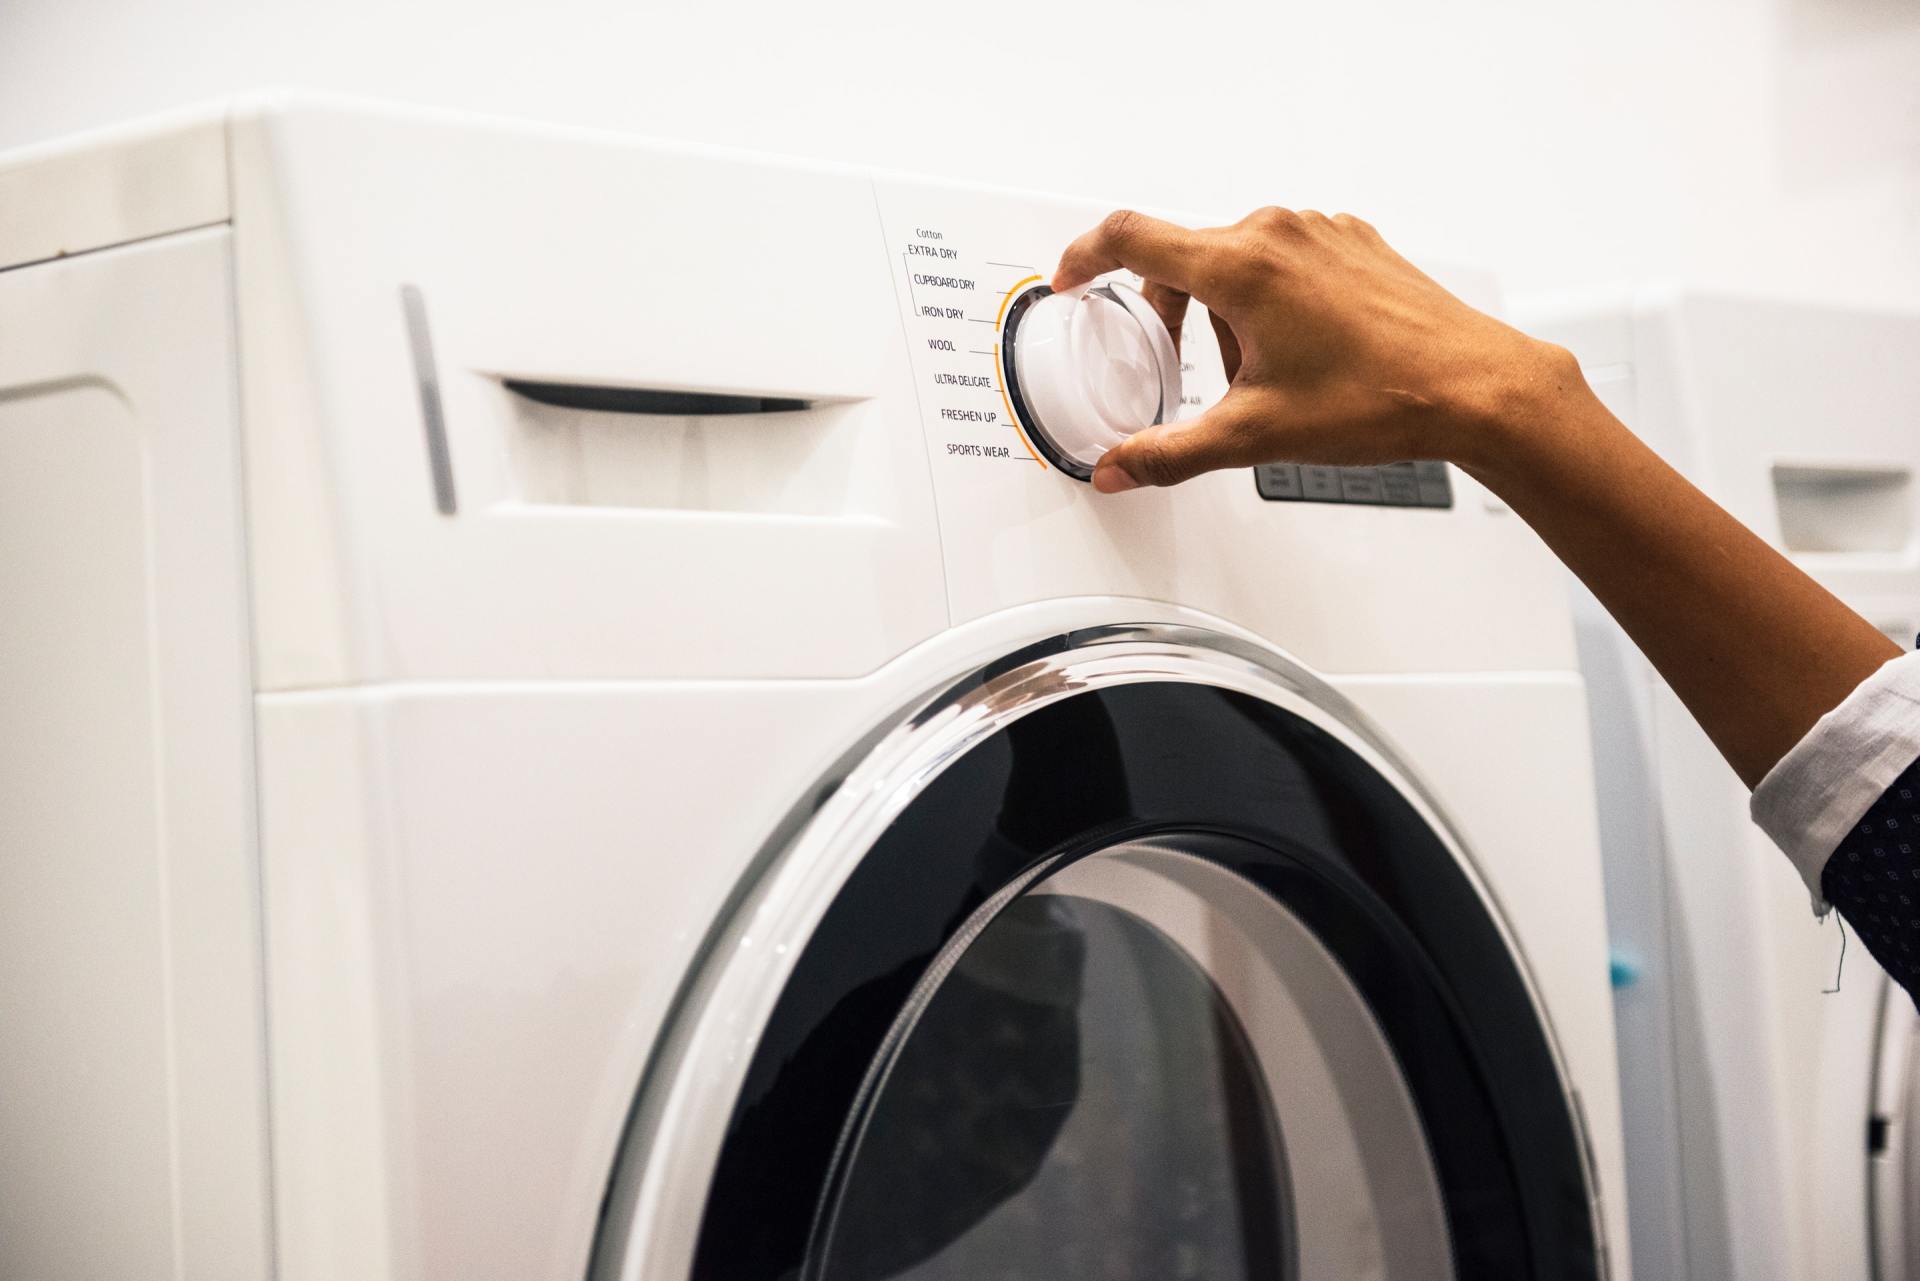
What to Expect When Replacing a Belt on a Whirlpool Dryer
The dryer belt on your appliance may need service in order to return to normal function. Learn more about replacing a belt on a Whirlpool dryer here.
According to consumer research, 95% of American homeowners have had a major appliance breakdown in the past year.
Is your Whirlpool dryer showing signs of wear and tear? It might be time for a belt replacement. Understanding what to expect during this process can make the task smoother and more efficient.
Check out these tips on dryer repair service. We'll explain how and when to replace a dryer belt, plus where to get help if you need it.
Read on to learn more about replacing a belt on a whirlpool dryer.
Dryer Does Not Work: Knowing the Signs
If your dryer belt is broken, you may notice several signs indicating a problem. Here are some common symptoms that suggest your dryer belt may need replacement:
- Noisy operation
- The drum doesn't turn
- Clothes take longer to dry
- Burnt rubber smell
- Visible damage
- The dryer won't start
- Visible drum misalignment
If you observe one or more of these signs, it's advisable to investigate further. Keep in mind that some dryers may have different symptoms, so refer to your dryer's manual for specific troubleshooting guidance.
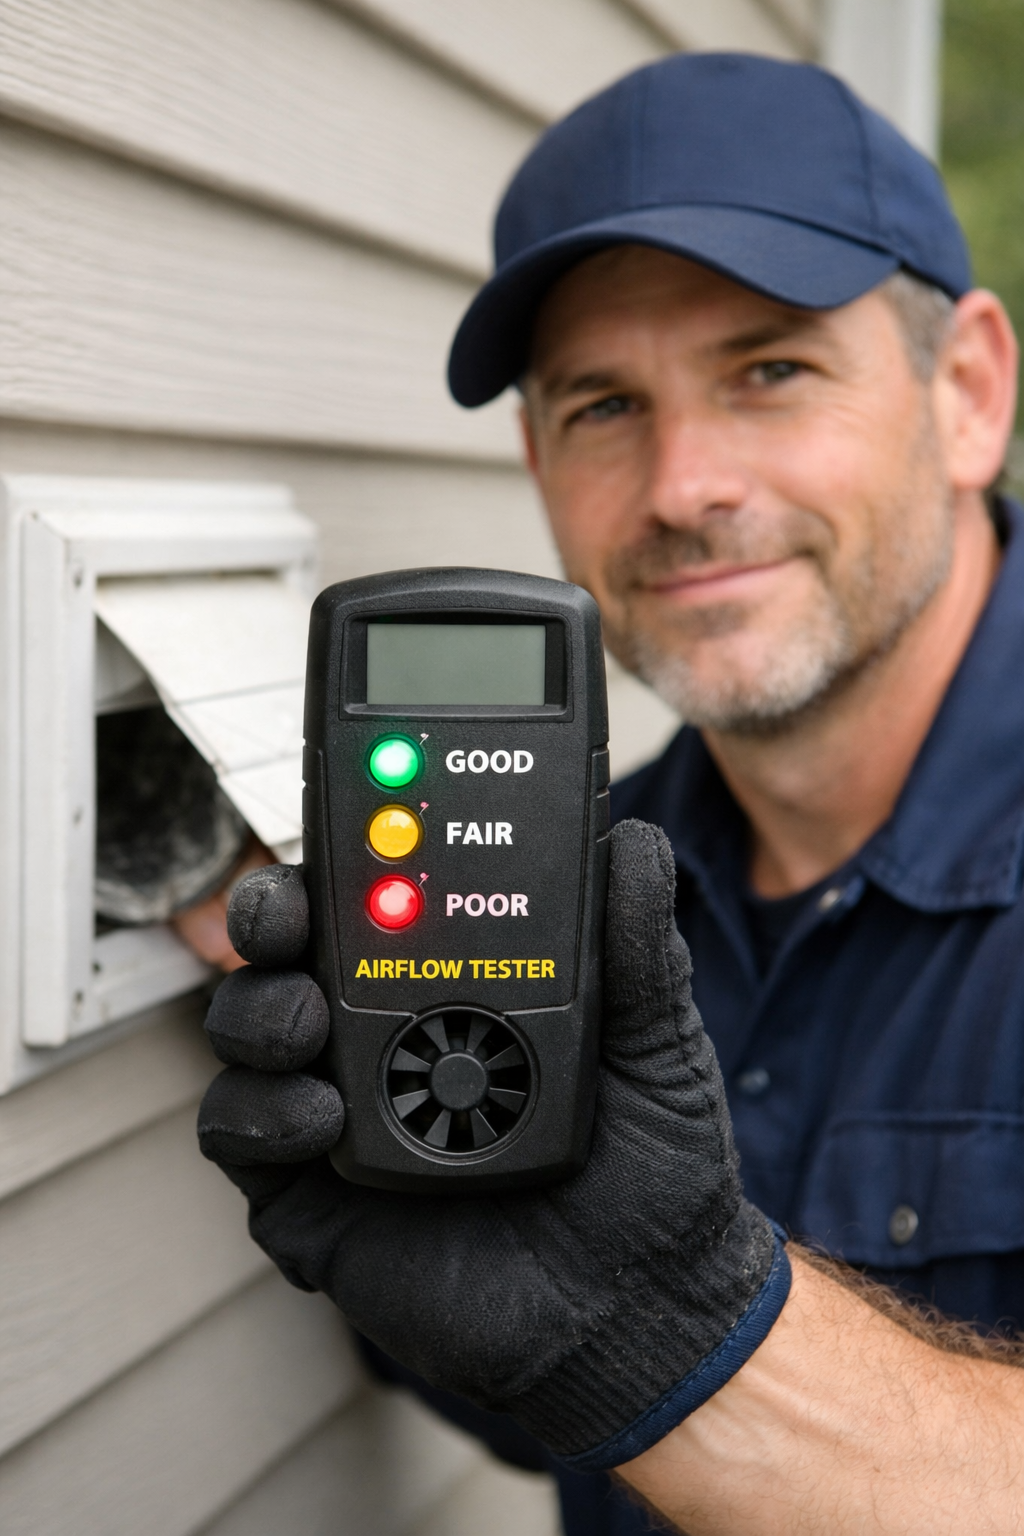
If you're unsure about the diagnosis or uncomfortable with the repair process, consider seeking professional assistance.
Now let's take a look at how to address issues with your dryer belt:
1. Safety First
Safety should always be the priority when dealing with electrical appliances. Begin by unplugging your Whirlpool dryer to ensure your safety throughout the replacement procedure.
2. Remove the Front Panel
Use a screwdriver to detach the front panel, providing easy access to the dryer's interior. This step is crucial for reaching the belt and initiating the replacement.
3. Identify the Tensioner
Spot the old belt and the tensioner-the components that drive the drum's rotation. Understanding the placement of these elements is pivotal for a successful replacement.
4. Release Tension and Replace
Utilize the putty knife to release tension from the old belt. Carefully slip it off the drum and motor pulley. Now, slide the new Whirlpool dryer belt into position, ensuring it follows the correct path outlined in your appliance's manual.
5. Reassemble and Test
With the new belt securely in place, reattach the front panel. Plug in the dryer and test its functionality. The drum should rotate smoothly, signaling a successful belt replacement.
6. Consider Pro Help
If you encounter challenges during the replacement process or if you are unsure about any step, it is advisable to consider seeking assistance from a professional technician.
Professional help ensures that the replacement is carried out accurately and safely, minimizing the risk of errors or damage to the appliance.
Replacing a Belt on a Whirlpool Dryer Explained
Here at General Appliance Service, we understand how important your appliances are for a comfortable and stress-free home life.
Our Technicians have the expertise and experience to handle intricate procedures, and their assistance can provide peace of mind, especially if you are not familiar with replacing a belt on a whirlpool dryer.
Contact us today to see how we can help with your dryer belt replacement, and much, much more.
The body content of your post goes here. To edit this text, click on it and delete this default text and start typing your own or paste your own from a different source.